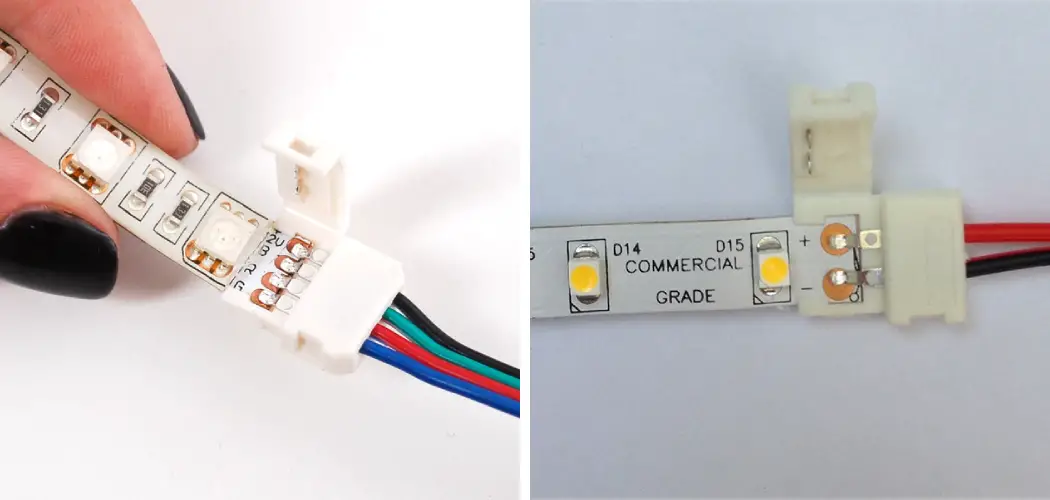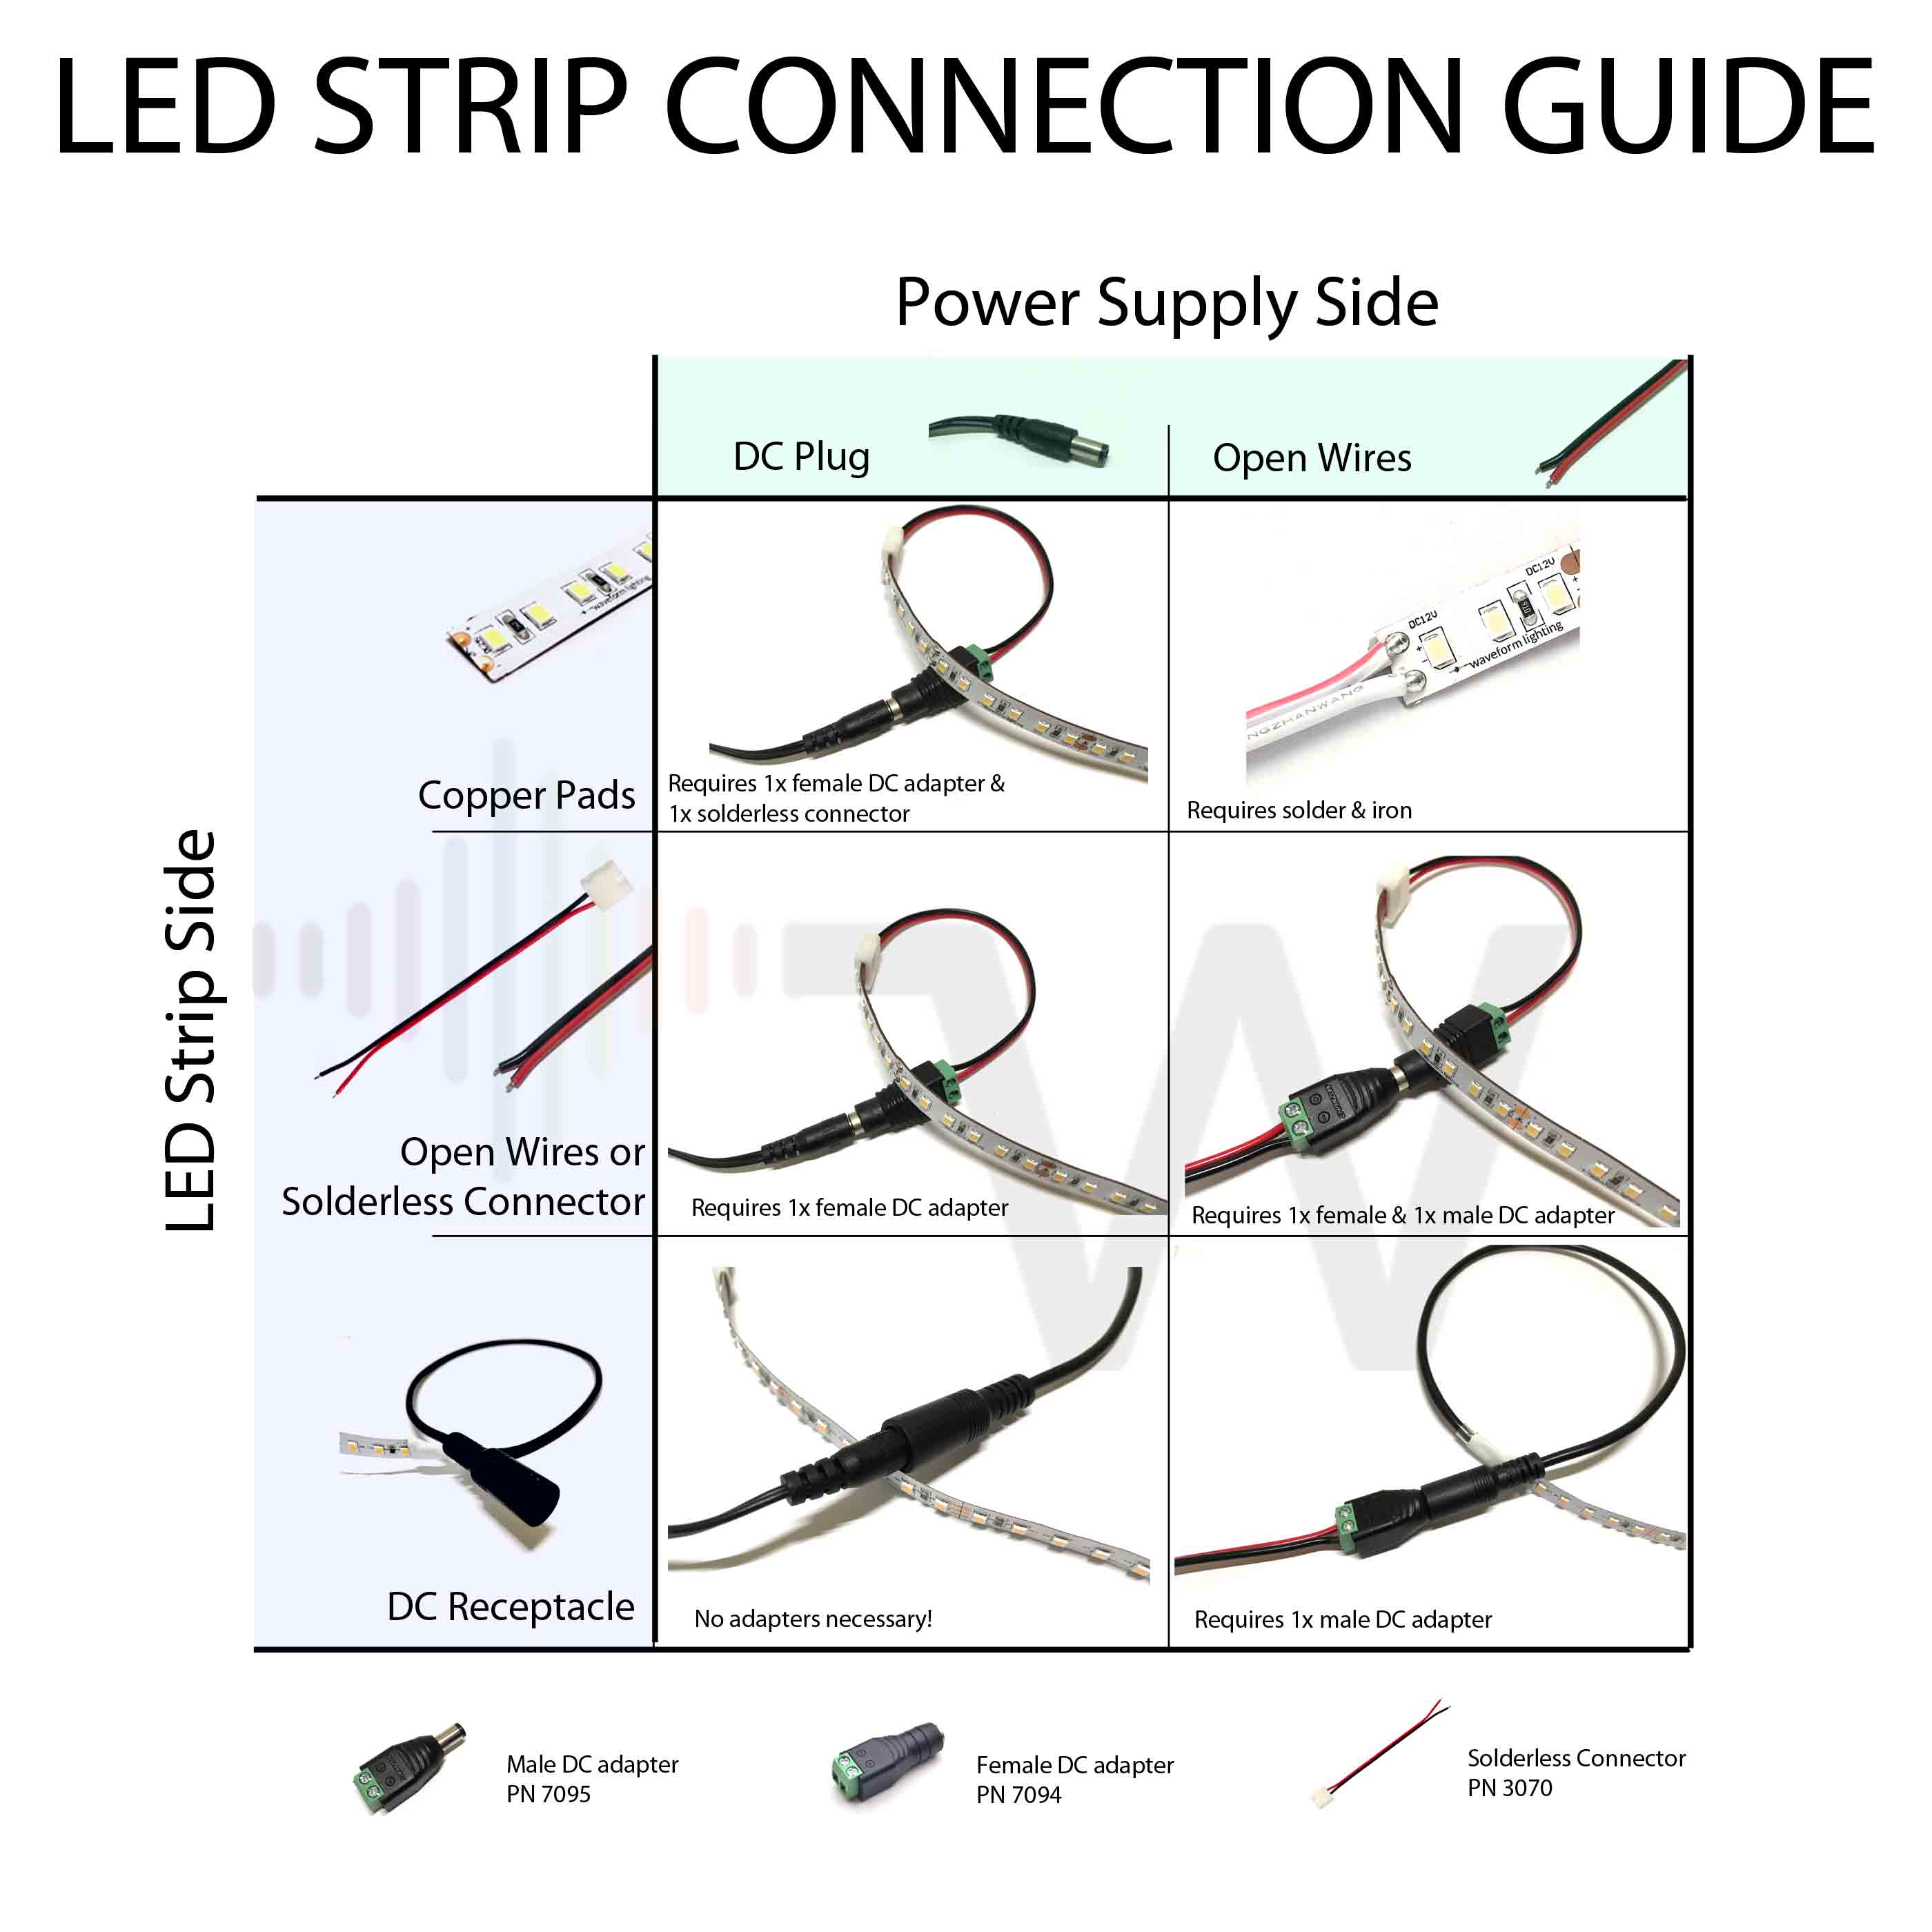
For beginners, setting up LED strips can seem like a daunting task. With the numerous types of strips, controllers, and power supplies available, it's easy to get overwhelmed. However, with the right guidance, anyone can successfully install LED strips in their home or workspace. In this article, we will break down the process into 7 easy steps, making it accessible for anyone to get started.
LED strips have become a popular choice for lighting due to their energy efficiency, versatility, and sleek appearance. They can be used to create ambient lighting, highlight specific areas, or even serve as a decorative element. Whether you're a DIY enthusiast or a homeowner looking to upgrade your lighting, this article will provide you with a comprehensive guide to setting up LED strips.
Step 1: Choose the Right LED Strip

The first step in setting up LED strips is to choose the right type for your needs. There are several types of LED strips available, including:
Non-waterproof strips: Suitable for indoor use in dry areas. Waterproof strips: Ideal for outdoor use or in areas exposed to moisture. Flexible strips: Can be bent and shaped to fit around corners and curves. Rigid strips: Best for straight-line installations.
Consider the location, desired brightness, and color temperature when selecting your LED strip.
Understanding LED Strip Specifications
Before making a final decision, it's essential to understand the specifications of your chosen LED strip. These include:Lumen output: Measures the brightness of the strip. Color temperature: Ranges from warm white (2700K) to cool white (6500K). LED density: The number of LEDs per meter. Cut points: Markings that indicate where the strip can be safely cut.
Step 2: Prepare Your Workspace

Before starting your installation, ensure your workspace is clean, dry, and free from any obstacles. Cover your work surface with a protective sheet or old cloth to prevent damage from any adhesives or debris.
Gather all the necessary materials, including:
LED strip Power supply Controller (if required) Adhesive or clips Wire cutters and strippers
Step 3: Cut the LED Strip (If Necessary)
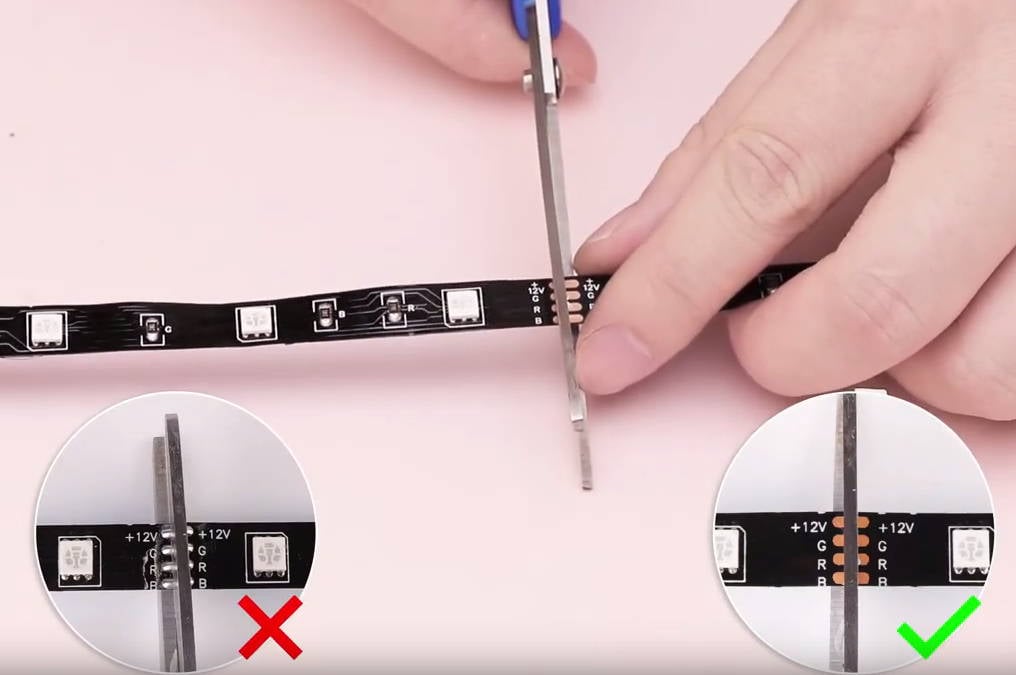
If your LED strip is too long, you may need to cut it to size. Use a pair of wire cutters to cut along the designated cut points. Be careful not to damage any of the LEDs or the circuit.
Step 4: Connect the LED Strip to the Power Supply
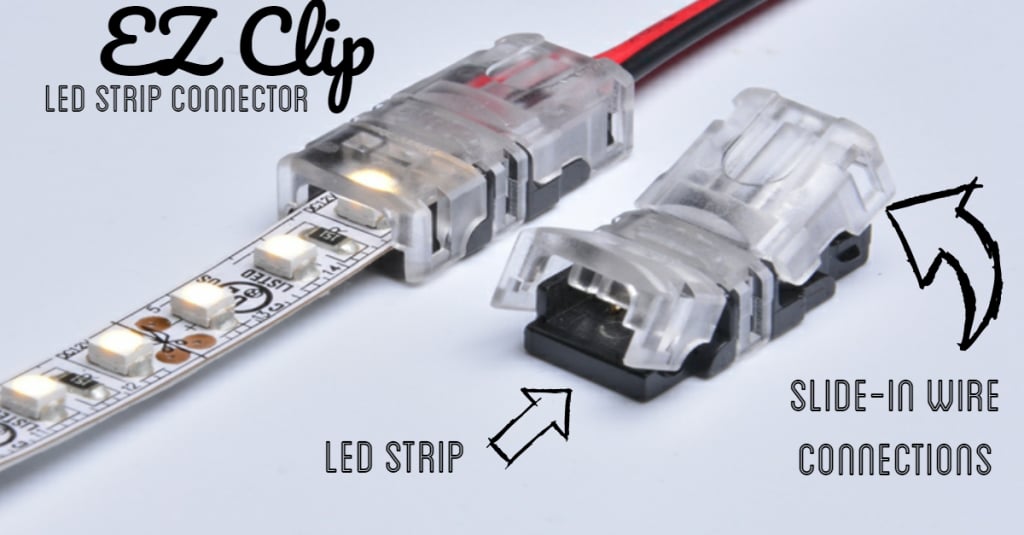
Connect the LED strip to the power supply, making sure to match the polarity (+ and -) and voltage ratings. Use wire strippers to strip any insulation from the ends of the wires.
Step 5: Secure the LED Strip
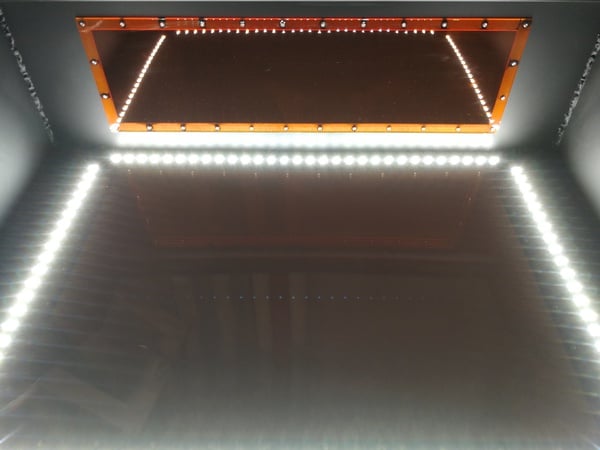
Use adhesive or clips to secure the LED strip to your desired surface. Make sure the surface is clean and dry for optimal adhesion.
Step 6: Add a Controller (If Required)

If you want to control the brightness, color, or effects of your LED strip, you may need to add a controller. Connect the controller to the LED strip and power supply, following the manufacturer's instructions.
Step 7: Test and Enjoy

Turn on your LED strip and test its functionality. Make any necessary adjustments to the brightness, color, or effects.
By following these 7 easy steps, you can successfully set up your LED strip and enjoy its benefits.
In conclusion, setting up LED strips is a straightforward process that requires some basic knowledge and preparation. By choosing the right LED strip, preparing your workspace, cutting the strip to size, connecting it to the power supply, securing it, adding a controller, and testing it, you can achieve a professional-looking installation.
If you have any questions or need further assistance, feel free to ask in the comments below.
FAQs:
Can I use LED strips outdoors?
+Yes, you can use LED strips outdoors, but make sure to choose waterproof strips and follow the manufacturer's instructions for outdoor use.
How long do LED strips last?
+LED strips can last up to 25,000 hours or more, depending on the quality and usage.
Can I cut LED strips to size?
+Yes, you can cut LED strips to size, but make sure to cut along the designated cut points to avoid damaging the circuit.
Gallery of 7 Easy Steps To Set Up Led Strips For Beginners

