Microsoft Access and Excel are two powerful tools that can be used together to create a robust data management system. While Access is ideal for storing and managing large datasets, Excel is perfect for analyzing and visualizing data. Exporting data from Access to Excel is a common task that can be accomplished in several ways. In this article, we will explore five ways to export Access data to Excel.
Why Export Access Data to Excel?
Before we dive into the methods of exporting Access data to Excel, let's quickly discuss why you might want to do this. Here are a few reasons:
Data analysis: Excel is perfect for analyzing and visualizing data. By exporting your Access data to Excel, you can create charts, graphs, and other visualizations to help you understand your data better. Data manipulation: Excel has powerful data manipulation tools that allow you to easily sort, filter, and modify your data. By exporting your Access data to Excel, you can take advantage of these tools. Reporting: Excel is ideal for creating reports. By exporting your Access data to Excel, you can create reports that are easy to read and understand.
Method 1: Using the Export Wizard
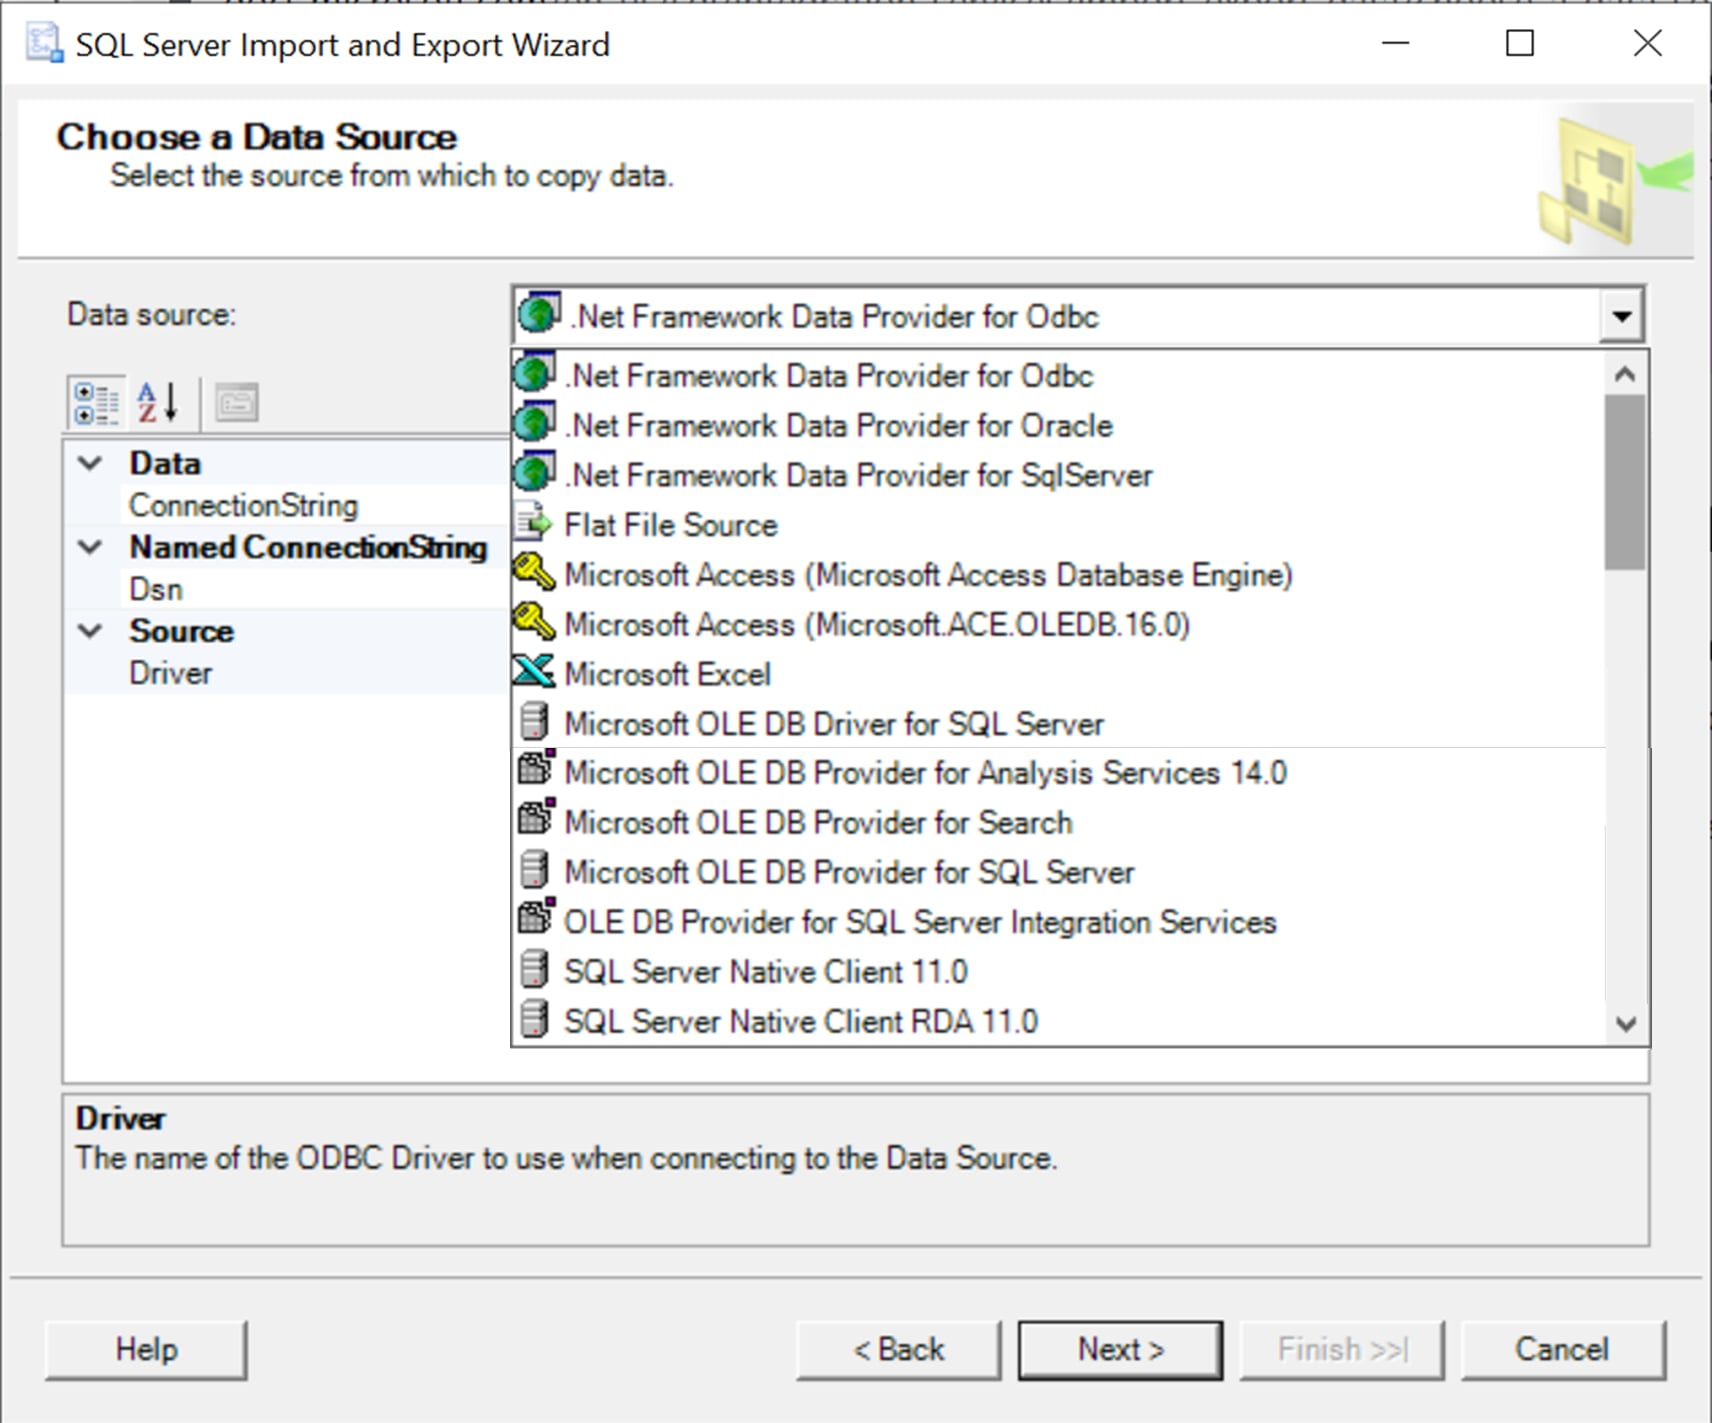
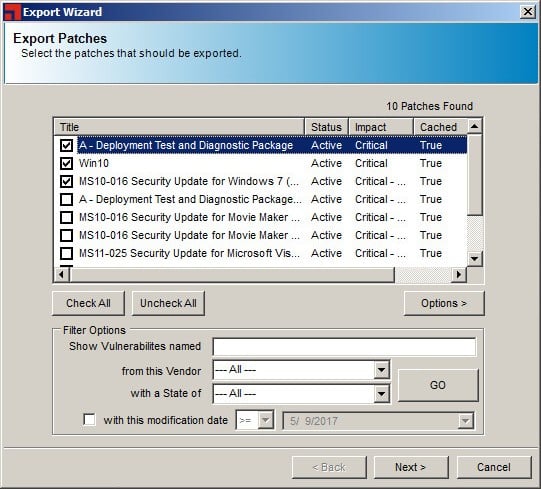
The Export Wizard is a built-in tool in Access that allows you to export your data to various formats, including Excel. Here's how to use it:
- Open your Access database and select the table or query that you want to export.
- Click on the "External Data" tab in the ribbon.
- Click on the "Export" button in the "Export" group.
- Select "Excel" as the export format.
- Choose the file location and file name for your exported file.
- Click "OK" to start the export process.
Pros and Cons of Using the Export Wizard
Pros:
Easy to use Fast export process Supports various export formats
Cons:
Limited customization options May not support large datasets
Method 2: Using VBA Code

VBA (Visual Basic for Applications) is a programming language used in Microsoft Office applications. You can use VBA code to export your Access data to Excel. Here's an example code snippet:
vb Sub ExportToExcel() Dim db As DAO.Database Dim rs As DAO.Recordset Dim xlApp As Object Dim xlWorkbook As Object
Set db = CurrentDb()
Set rs = db.OpenRecordset("YourTableName")
Set xlApp = CreateObject("Excel.Application")
xlApp.Visible = True
Set xlWorkbook = xlApp.Workbooks.Add

' Copy data from Access to Excel
xlWorkbook.Sheets(1).Range("A1").CopyFromRecordset rs

' Save the Excel file
xlWorkbook.SaveAs "C:\YourFilePath.xlsx"

' Clean up
Set xlWorkbook = Nothing
Set xlApp = Nothing
Set rs = Nothing
Set db = Nothing
End Sub
Pros and Cons of Using VBA Code

Pros:
Highly customizable Supports large datasets Can automate the export process
Cons:
Requires VBA programming knowledge Can be time-consuming to set up
Method 3: Using the Access Data Import/Export Specification
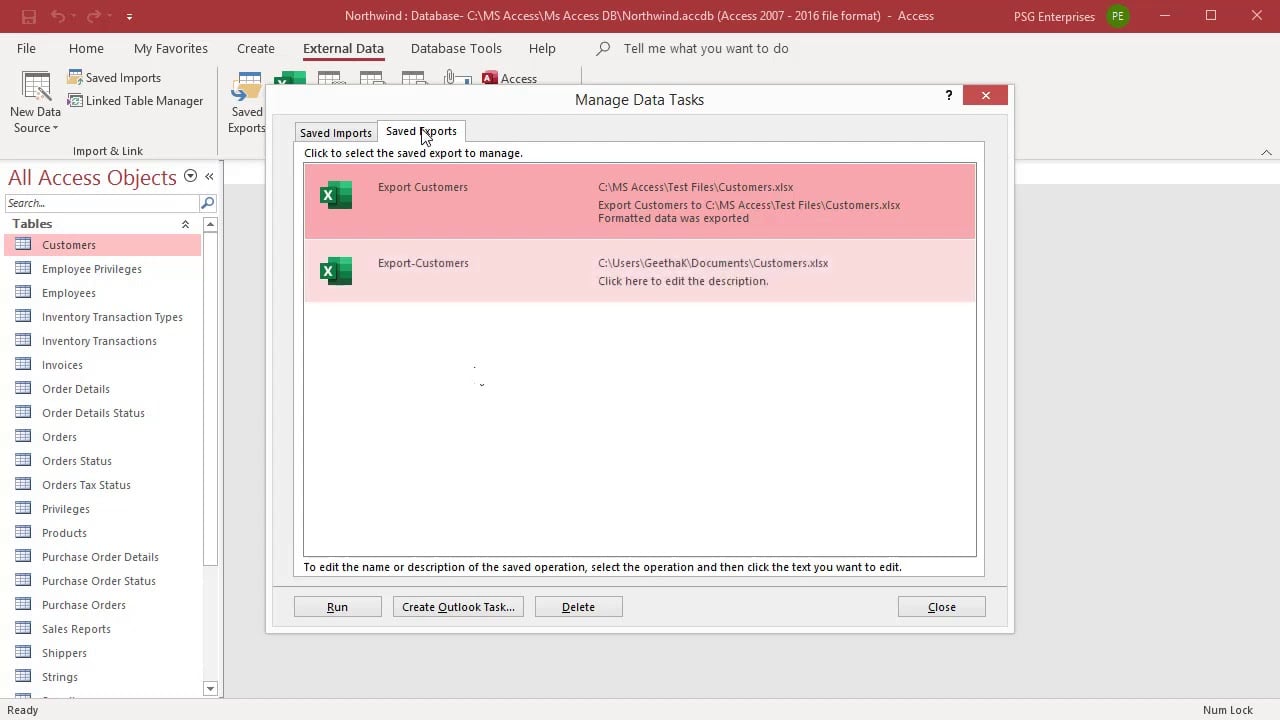
The Access Data Import/Export Specification is a feature in Access that allows you to export data to various formats, including Excel. Here's how to use it:
- Open your Access database and select the table or query that you want to export.
- Click on the "External Data" tab in the ribbon.
- Click on the "Import/Export" button in the "Import/Export" group.
- Select "Excel" as the export format.
- Choose the file location and file name for your exported file.
- Click "OK" to start the export process.
Pros and Cons of Using the Access Data Import/Export Specification
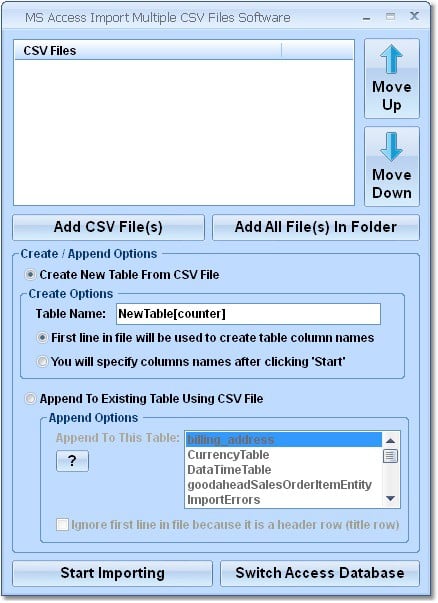
Pros:
Easy to use Supports various export formats Can automate the export process
Cons:
Limited customization options May not support large datasets
Method 4: Using the Access To Excel Add-in
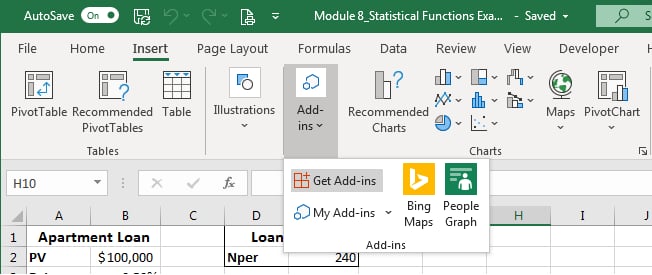
The Access To Excel Add-in is a third-party add-in that allows you to export Access data to Excel. Here's how to use it:
- Download and install the Access To Excel Add-in.
- Open your Access database and select the table or query that you want to export.
- Click on the "Access To Excel" tab in the ribbon.
- Click on the "Export to Excel" button.
- Choose the file location and file name for your exported file.
- Click "OK" to start the export process.
Pros and Cons of Using the Access To Excel Add-in

Pros:
Easy to use Supports large datasets Can automate the export process
Cons:
Requires a third-party add-in May have limitations on customization options
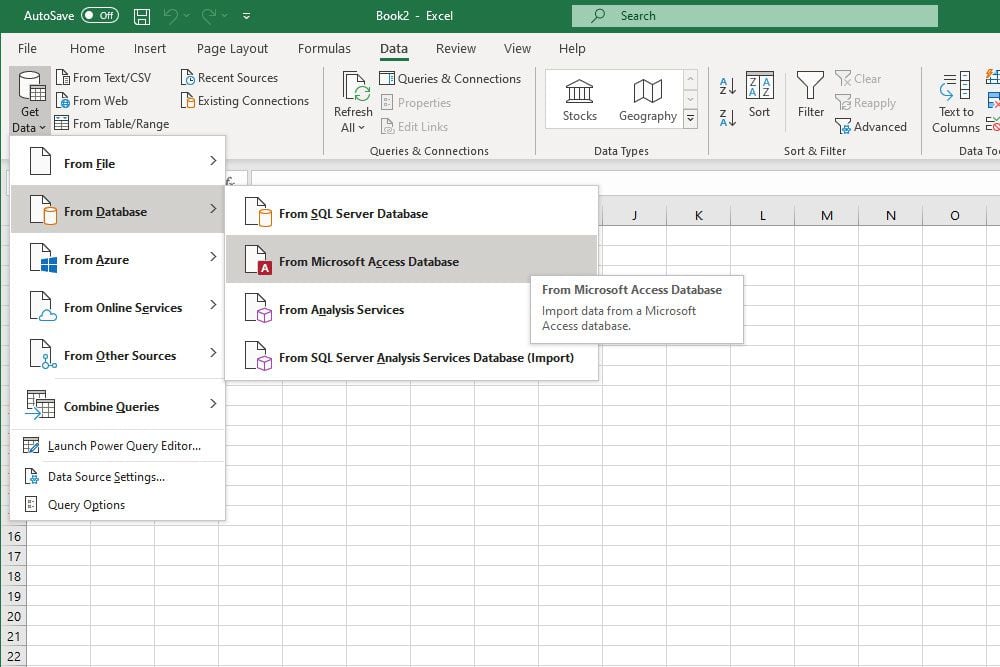
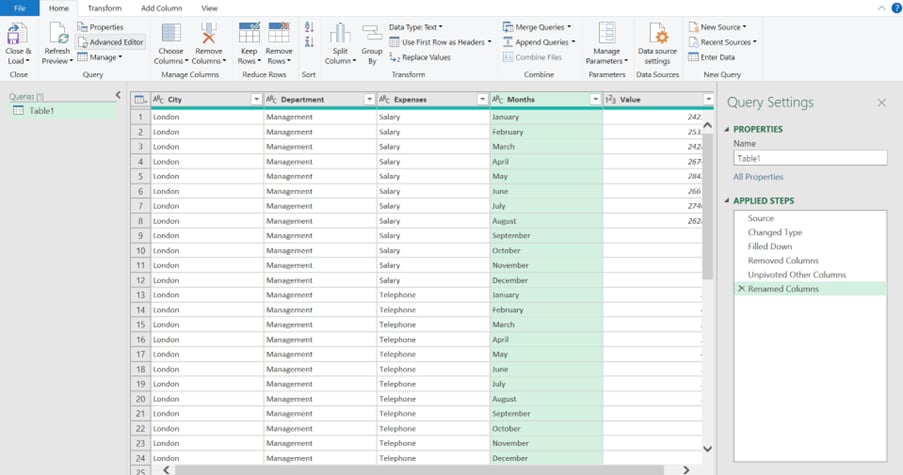
Method 5: Using the Microsoft Power Query Editor
The Microsoft Power Query Editor is a powerful tool that allows you to connect to various data sources, including Access. Here's how to use it:
- Open the Microsoft Power Query Editor.
- Click on the "From Other Sources" button.
- Select "Access" as the data source.
- Choose the file location and file name for your exported file.
- Click "OK" to start the export process.
Pros and Cons of Using the Microsoft Power Query Editor
Pros:
Highly customizable Supports large datasets Can automate the export process
Cons:
Requires knowledge of Power Query May have limitations on customization options
Wrapping Up
Exporting Access data to Excel is a common task that can be accomplished in several ways. In this article, we explored five methods, including using the Export Wizard, VBA code, the Access Data Import/Export Specification, the Access To Excel Add-in, and the Microsoft Power Query Editor. Each method has its pros and cons, and the best method for you will depend on your specific needs and requirements.
Gallery of 5 Ways To Export Access Data To Excel
![5 Quick Ways to Convert Access to Excel File [The Definitive Guide]](https://www.repairmsexcel.com/blog/wp-content/uploads/2019/06/export_data_from_microsoft_access_2.png)
![5 Quick Ways to Convert Access to Excel File [The Definitive Guide]](https://www.repairmsexcel.com/blog/wp-content/uploads/2019/06/export_data_from_microsoft_access_4.png)
![5 Quick Ways to Convert Access to Excel File [The Definitive Guide]](https://www.repairmsexcel.com/blog/wp-content/uploads/2019/06/export_data_from_microsoft_access_1.png)
:max_bytes(150000):strip_icc()/002-export-data-to-excel-4797681-018e572f8c864eefadfe9f5ef978b85a.jpg)
![5 Quick Ways to Convert Access to Excel File [The Definitive Guide]](https://www.repairmsexcel.com/blog/wp-content/uploads/2019/06/export_data_from_microsoft_access_3.png)
:max_bytes(150000):strip_icc()/exportexcel02-7c510f70f7ef41f7ba81e28561e5efdd.jpg)

![5 Quick Ways to Convert Access to Excel File [The Definitive Guide]](https://www.repairmsexcel.com/blog/wp-content/uploads/2019/06/Access.png)